

QuickBooks Clean Install Tool: How to Reinstall QuickBooks Desktop

QuickBooks Desktop helps businesses manage accounting, payroll, invoices, and financial records. However, installation problems, damaged program files, and unexpected software errors can sometimes interrupt your work. When regular troubleshooting does not solve these problems, performing a clean installation can help restore the application.
The QuickBooks Clean Install Tool helps users remove existing installation files and prepare the computer for a fresh installation of QuickBooks Desktop. Unlike a standard reinstallation, this process also addresses leftover program folders that may contain damaged or outdated files.
A clean installation generally involves uninstalling QuickBooks, renaming its installation folders, and reinstalling the correct version. Although the process may seem technical, you can complete it by following a few simple steps.
Let's explore when you should use this utility, which problems it may help resolve, and how to perform a clean installation safely.
Why Should You Use the QuickBooks Clean Install Tool?
A normal reinstall does not always remove every damaged installation file. Sometimes, outdated folders and corrupted program components remain on your computer and cause the same problems to appear again.
The QuickBooks Clean Install Tool provides a way to prepare your system for a fresh installation. Consider using this process in the following situations:
· QuickBooks Desktop installation errors: The application displays errors during installation or while updating its program files.
· QuickBooks keeps crashing: The software frequently freezes, closes unexpectedly, or stops responding.
· Company file access problems: QuickBooks encounters application-related problems when opening company files.
· Repeated error codes: The same installation or program error continues after you try standard troubleshooting steps.
· Damaged installation folders: Missing or corrupted program files prevent QuickBooks from working correctly.
· Reinstallation problems: A regular uninstall and reinstall does not resolve the original issue.
A clean installation mainly addresses problems related to QuickBooks program files. It does not automatically repair damaged company data or resolve every accounting error.
What Problems Can a QuickBooks Clean Installation Fix?
The clean installation process can help resolve several issues caused by damaged or incomplete QuickBooks Desktop installation files.
Some common examples include:
1. QuickBooks Desktop keeps crashing or freezing.
2. QuickBooks Error 1904 during installation.
3. QuickBooks Desktop won't open because of damaged program files.
4. Certain printing problems related to the QuickBooks installation.
5. Some unrecoverable errors, including Error 19982 36466, when damaged program components are involved.
6. Installation and uninstallation problems caused by outdated folders.
Keep in mind that these errors can have different causes. For example, printing issues may also result from incorrect printer settings or Windows printing services. Therefore, a clean installation may not resolve every instance of these problems.
Important Precautions Before Running QuickBooks Clean Install Utility
Before uninstalling QuickBooks Desktop, prepare your computer to avoid unnecessary complications. A few preventive steps can make the entire process easier.
1. Create a Company File Backup
Create a backup of your QuickBooks company file before making any changes. Save it in a secure location, such as an external drive or another folder.
2. Check Your QuickBooks Version
Note your QuickBooks Desktop product year, edition, and version. You will need this information when downloading and reinstalling the application.
3. Keep Your License and Product Numbers Ready
QuickBooks may ask for your license and product numbers during installation. You can usually find these details in your original purchase confirmation email or product packaging.
4. Download the Correct Installation File
Make sure you have access to the correct QuickBooks Desktop installation file before uninstalling the existing application.
5. Sign In With Administrator Rights
Use a Windows account with administrator permissions to uninstall QuickBooks, rename installation folders, and install the software again.
How to Use the QuickBooks Clean Install Tool?
The QuickBooks clean installation process involves removing the existing application, renaming its installation folders, and installing a fresh copy.
Follow these steps carefully.
Step 1: Uninstall QuickBooks Desktop From Windows
First, remove the existing QuickBooks Desktop application from your computer.
1. Close QuickBooks Desktop and all related applications.
2. Open the Windows Start menu.
3. Search for Control Panel and open it.
4. Select Programs and Features or Uninstall a Program.
5. Find your QuickBooks Desktop version in the installed programs list.
6. Select QuickBooks Desktop.
7. Click Uninstall/Change.
8. Follow the instructions displayed on your screen to complete the removal process.
After Windows finishes uninstalling QuickBooks, restart your computer if prompted.
Remember that uninstalling QuickBooks Desktop does not normally delete your company files. However, keeping a separate backup is always recommended.
Step 2: Run the QuickBooks Clean Install Tool
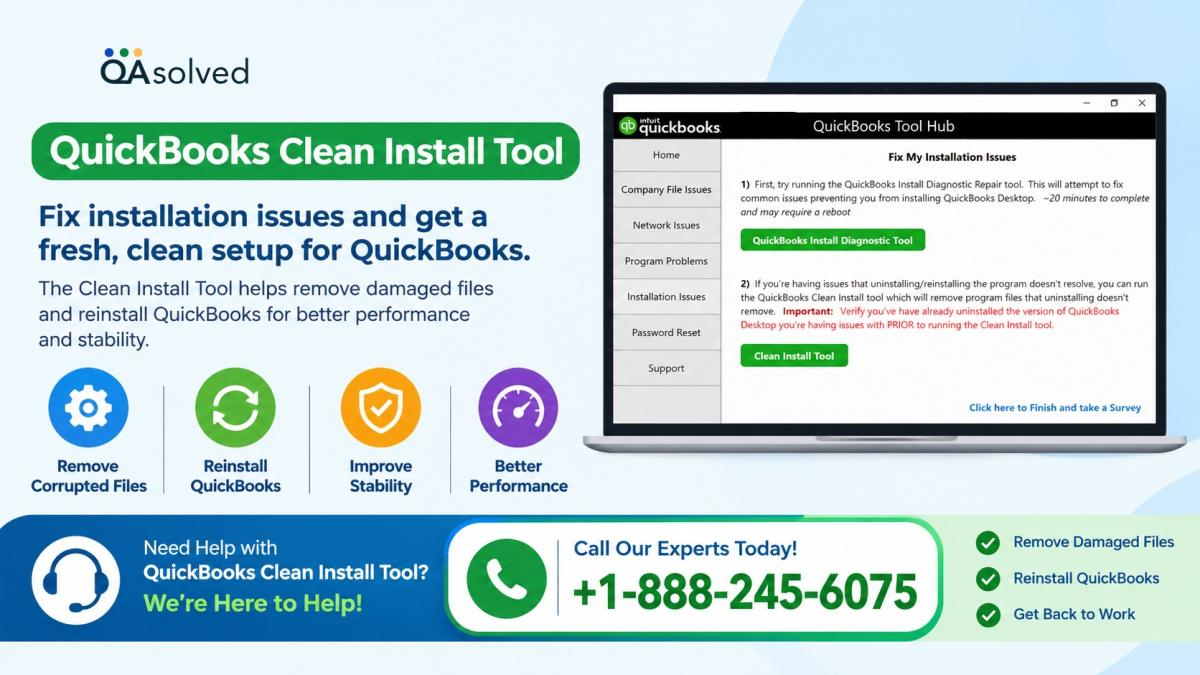
The next step is to use the Clean Install Tool through QuickBooks Tool Hub.
If you have not installed Tool Hub, download it from the official Intuit website and complete its installation.
Follow these instructions:
1. Open QuickBooks Tool Hub.
2. Select the Installation Issues tab.
3. Click Clean Install Tool.
4. Select OK when the confirmation message appears.
5. Choose your QuickBooks Desktop version and product edition.
6. Click Continue.
7. Select OK when the utility asks you to install QuickBooks in its default location.
The utility will rename the existing installation folders so that QuickBooks can create fresh folders during reinstallation.
Once the process finishes, proceed to the next step.
Note: The available options may differ depending on your QuickBooks Tool Hub and product version.
Step 3: Rename QuickBooks Installation Folders Manually
In some situations, you may need to rename the installation folders manually. This step is especially relevant when the Clean Install Tool cannot complete the process.
First, enable hidden files in Windows File Explorer.
For Windows 10 and Windows 11:
1. Open File Explorer.
2. Select the View menu.
3. Open Show.
4. Enable Hidden Items.
Now locate the QuickBooks installation folders. Depending on your Windows configuration and QuickBooks version, they may appear in these locations:
· C:\ProgramData\Intuit\QuickBooks (year)
· C:\Users(current user)\AppData\Local\Intuit\QuickBooks (year)
· C:\Program Files\Intuit\QuickBooks (year)
· C:\Program Files (x86)\Intuit\QuickBooks (year)
Right-click the relevant QuickBooks folder and select Rename.
Add the word .old or .old1 to the end of its name. For example, change QuickBooks2024 to QuickBooks2024.old.
Repeat this process for the applicable installation folders.
Do not rename folders containing your active company files or backup files. The goal is to rename program installation folders, not accounting data.
What if Windows Does Not Allow You to Rename a Folder?
Sometimes, Windows prevents you from renaming QuickBooks folders because related processes are still running.
You can try the following steps:
1. Right-click the Windows taskbar.
2. Open Task Manager.
3. Select the Processes or Details tab.
4. Look for QuickBooks-related processes, such as Qbw32.exe, QBDBMgrN.exe, QBDBMgr.exe, and QBCFMonitorService.exe.
5. Close the relevant processes only when QuickBooks and its related services are no longer in use.
Be careful when stopping database services, especially on a computer hosting company files for multiple users. Avoid terminating unrelated Windows processes.
After closing the appropriate applications and services, try renaming the folders again.
Step 4: Download and Reinstall QuickBooks Desktop
Once you have completed the previous steps, install a fresh copy of QuickBooks Desktop.
You can use your original installation CD or download the appropriate setup file from the official Intuit website.
Follow these instructions:
1. Open the QuickBooks Desktop installation setup.
2. Select Next.
3. Read and accept the license agreement.
4. Enter your QuickBooks license and product numbers.
5. Click Next to continue.
6. Choose the installation type that suits your accounting requirements.
7. Follow the on-screen instructions.
8. Select Install to begin the installation.
Wait until Windows completes the installation process.
When the setup finishes, open QuickBooks Desktop and check whether the original problem has disappeared.
Step 5: Open Your Company File and Check QuickBooks
After reinstalling the application, open QuickBooks Desktop and verify that it works correctly.
· Open your company file.
· Check whether your accounting data appears correctly.
· Test the features that previously caused problems.
· Install available updates for your QuickBooks version.
· Verify your multi-user settings if you use a network environment.
If QuickBooks asks you to activate the product, enter the required license information.
QuickBooks Clean Install Tool Not Working? Try These Tips
Sometimes, the clean installation process may stop because of Windows restrictions, incomplete downloads, or running QuickBooks services.
Here are a few things you can try:
· Run Tool Hub as Administrator: Right-click the QuickBooks Tool Hub icon and select Run as Administrator.
· Restart Windows: Restarting your computer can close background processes that interfere with installation.
· Check Folder Permissions: Make sure your Windows account has permission to rename the QuickBooks installation folders.
· Download Tool Hub Again: If the utility is missing or damaged, download the latest available version from Intuit.
· Check Your Installation File: Make sure the QuickBooks setup matches your product year and edition.
If these steps do not help, consider getting assistance from a qualified IT professional or QuickBooks support specialist.
Final Thoughts
The QuickBooks Clean Install Tool is a useful troubleshooting option when damaged or outdated installation files prevent QuickBooks Desktop from working properly. It helps prepare your computer for a fresh installation by renaming existing program folders.
Before starting, create a company file backup and keep your product and license details ready. Then uninstall QuickBooks, run the Clean Install Tool, rename any remaining installation folders if necessary, and reinstall the correct version.
Following the process carefully can help eliminate installation-related problems and restore normal application performance. If the issue continues, investigate other possible causes, such as Windows permissions, network configuration, or company file damage.
1. What is the QuickBooks Clean Install Tool?
The QuickBooks Clean Install Tool is a utility available through QuickBooks Tool Hub that helps rename existing installation folders so users can perform a fresh QuickBooks Desktop installation.
2. When should I use the QuickBooks Clean Install Tool?
Use it when QuickBooks Desktop has persistent installation problems, damaged program files, repeated application errors, or issues that a regular reinstall cannot resolve.
3. Does a clean installation delete QuickBooks company files?
A standard clean installation should not delete company files stored separately from the program installation folders. However, always create a backup before starting.
4. Where can I find the QuickBooks Clean Install Tool?
Open QuickBooks Tool Hub, select Installation Issues, and look for the Clean Install Tool option.
5. Can the QuickBooks Clean Install Tool fix Error 1904?
It may help when Error 1904 results from damaged or incomplete QuickBooks installation files. Other causes may require additional troubleshooting.
6. Do I need my QuickBooks license number after a clean installation?
Yes. Keep your license and product numbers ready because QuickBooks may request them during reinstallation or activation.
7. How long does a QuickBooks clean installation take?
The time depends on your computer, internet connection, and QuickBooks version. The process generally takes longer than a standard reinstall because it includes additional folder-renaming steps.
8. Can I use the Clean Install Tool for QuickBooks Desktop Enterprise?
The clean installation process may also apply to supported QuickBooks Desktop Enterprise versions. Always select the correct product and version when using the utility.
9. What should I do if the QuickBooks Clean Install Tool is missing?
Check that QuickBooks Tool Hub is properly installed and updated. If the option is still unavailable, consult the official Intuit support resources for your product version.
10. Is a clean installation the same as repairing QuickBooks Desktop?
No. A repair attempts to fix the existing installation, while a clean installation removes the existing program setup and prepares the system for a fresh installation.






Comments (0)