

5 Camera Settings to Change Immediately for Professional-Looking Video
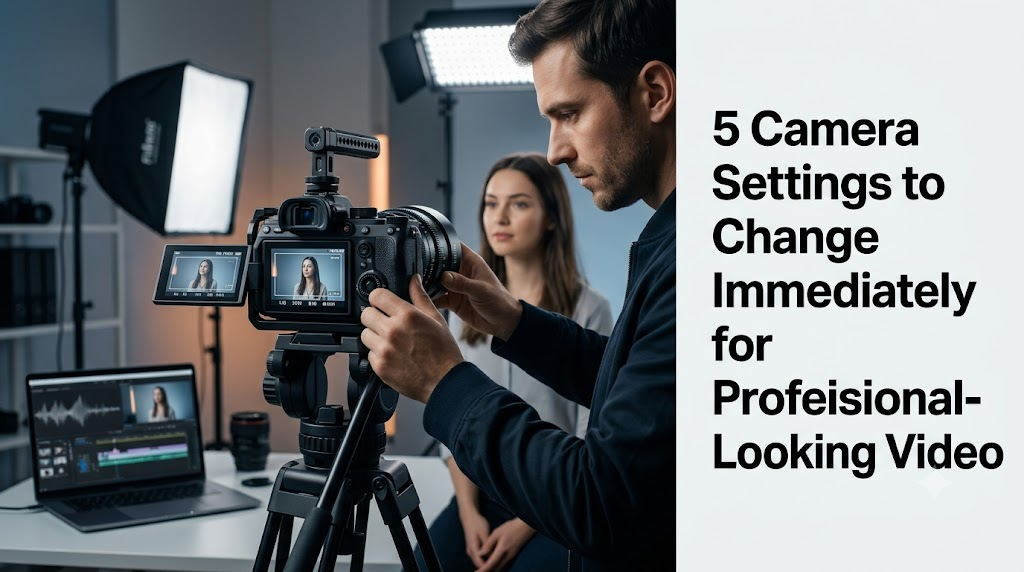
Achieving professional-looking video requires overriding your camera's automated settings to lock in manual exposure, shutter angle, color temperature, and bitrate profiles. Default automatic camera modes cause distracting exposure shifts, jittery motion blur, and inaccurate skin tones that immediately reveal an amateur production.
For videographers, filmmakers, and digital content creators, mastering camera hardware is only half the battle. Presenting high-resolution commercial reels and client portfolios online requires a modern video theme to showcase high-bitrate video embeds, maintain color accuracy, and capture new production clients with responsive media galleries.
Here are the five critical camera settings to change immediately for professional visual fidelity, along with the digital infrastructure creators use to exhibit their work.
Why Do Default Camera Settings Ruin Video Quality?
Default camera settings prioritize convenience over cinematic aesthetics, using automated algorithms that constantly adjust exposure, focus, and white balance while recording. These micro-adjustments create unnatural visual artifacts, shifting color temperatures and jarring focus hunting across single takes.
Switching to manual operational control eliminates four fundamental production flaws:
- Exposure fluctuation: Automatic light metering changes scene brightness whenever a subject moves or background lighting shifts slightly.
- Inconsistent color temperature: Auto white balance shifts warm and cool tones mid-shot, making color grading in post-production nearly impossible.
- Unnatural motion rendering: High automatic shutter speeds introduce robotic, jittery motion cadence rather than smooth, natural motion blur.
- Noisy digital artifacts: Auto-ISO boosts gain aggressively in low-light environments, coating dark backgrounds with muddy digital grain.
When filmmakers present comparative footage demonstrating these technical upgrades, deploying a specialized video production website template allows prospective clients to review pristine, high-bitrate video clips without platform compression artifacts.
1. Apply the 180-Degree Shutter Rule for Natural Motion Blur
The 180-degree shutter rule states that your camera's shutter speed must always be double the chosen frame rate to create natural, cinematic motion blur that mirrors human vision. If you record video at 24 frames per second (fps), set your shutter speed to exactly 1/48 or 1/50 of a second.
- Set standard cinema frame rates: Shoot narrative video and dialogue scenes at 24 fps or 30 fps to establish standard cinematic cadence.
- Calculate the exact shutter denominator: Double the frame rate (1/50 for 24 fps, 1/60 for 30 fps, and 1/120 for 60 fps slow motion).
- Control exposure with ND filters: Never raise shutter speeds on sunny days to lower exposure; mount neutral density (ND) filters to cut incoming light without breaking motion blur.
- Eliminate artificial stutter: Fast shutter speeds (such as 1/1000) create choppy, staccato motion suitable for hyper-real action scenes, but look unnatural during routine dialogue.
2. Lock In Manual White Balance with a Kelvin Scale or Gray Card
Manual white balance ensures consistent color reproduction throughout a scene by setting the camera sensor to match the exact color temperature of the ambient light source. Relying on auto white balance causes skin tones to shift distractingly between warm yellow and cold blue whenever lighting angles change.
- Use the Kelvin scale manually: Match your Kelvin setting to the dominant light source (around 3200K for warm tungsten bulbs and 5600K for daylight).
- Calibrate with an 18-percent gray card: Hold an 18% gray target in front of the lens under production lighting to perform a precise custom white-balance calibration.
- Avoid mixed-temperature illumination: Match LED light fixtures to outdoor window light to prevent contrasting orange and blue color casts across your subject's face.
- Simplify color grading workflows: Locking in an exact Kelvin rating guarantees that every clip from a scene matches perfectly on your editing timeline.
To share color-grading breakdowns and look-up tables (LUTs), creative directors often turn to a versatile video theme to present interactive before-and-after color sliders that show uncorrected log profiles alongside finished grades.
3. Switch to a Flat or Log Picture Profile for Maximum Dynamic Range
Logarithmic (Log) and flat picture profiles preserve dynamic range by compressing highlight details and shadow information into a flat, low-contrast recorded image. Recording in Log formats (such as Sony S-Log, Canon C-Log, or Panasonic V-Log) prevents blown-out skies and crushed shadows, retaining maximum color data for color grading.
- Maximize dynamic range capture: Log profiles capture up to fourteen or more stops of dynamic range, holding detail in bright windows and dim shadows simultaneously.
- Expose using false color or zebras: Monitor exposure using zebra stripes or false color tools to avoid clipping highlight data in the upper IRE values.
- Overcome the flat preview: Use an onboard 709 conversion display LUT on your camera monitor so clients see standard contrast while the sensor records flat Log data.
- Utilize 10-bit color recording: Only shoot heavy Log profiles if your camera supports 10-bit 4:2:2 color depth; 8-bit Log footage frequently breaks apart into visual banding during post-processing.
4. Set Base ISO and Avoid Digital Noise Amplification
Setting your camera to its native base ISO ensures the cleanest possible image with the highest signal-to-noise ratio and widest dynamic range. Boosting ISO sensitivity amplifies the sensor’s electric signal, introducing digital sensor grain and eroding fine textures in dark scenes.
- Identify the camera's native base ISO: Consult technical manuals to identify the primary base ISO (typically ISO 100 for standard profiles or ISO 800 for Log modes).
- Leverage dual native ISO sensors: Modern cinema cameras often feature a second native base ISO (such as ISO 3200), providing pristine, noise-free capture in low light.
- Add physical light before boosting gain: Introduce practical lamps, LED panels, or light reflectors rather than cranking digital ISO to illuminate a scene.
- Limit digital noise reduction: Disable aggressive in-camera noise reduction algorithms, which smear fine details and make human skin appear plastic.
Independent cinematographers documenting camera sensor reviews rely on an organized video production WordPress layout to display 100-percent crop comparisons that show noise grain across different ISO values.
5. Select the Highest Bitrate and Intra-Frame Codec
Choosing high bitrates and All-Intra (All-I) compression codecs ensures maximum visual detail during rapid camera movements by compressing each frame individually rather than across temporal frame clusters. Consumer cameras default to Long-GOP inter-frame compression to save memory card space, sacrificing detail during action scenes.
- Select high megabit-per-second (Mbps) rates: Select bitrates of 150 Mbps, 400 Mbps, or higher to preserve sharp textures in complex scenes like flowing water and foliage.
- Switch from Long-GOP to All-Intra: All-I formats record standalone frames, easing computer processing loads and eliminating motion compression artifacts.
- Invest in fast recording media: Use V60- or V90-rated SD cards, CFexpress, or external solid-state drives (SSDs) to prevent dropped frames during high-bitrate recording.
- Choose proper subsampling: Record at 10-bit 4:2:2 instead of 8-bit 4:2:0 to deliver four times more color gradations for flawless chroma keying and grading.
How Video Production Agencies Convert High-Paying Clients Online
Corporate clients, commercial brands, and agency producers rarely judge videographers by their equipment list; they judge them by visual presentation, speed, and creative portfolio depth. A slow-loading, generic website diminishes the authority of even the most stunning cinema camera work.
Deploying a dedicated video WordPress theme equips production studios with essential commercial assets:
- Self-hosted and adaptive stream embedding: Fast-loading video modules support Vimeo, YouTube, and self-hosted MP4/WebM video feeds without buffering or resolution drops.
- Fullscreen video background hero banners: Instantly capture incoming visitors by showcasing an eye-catching showreel behind your homepage headline.
- Filterable commercial portfolios: Potential clients can filter past work by category, such as corporate brand films, music videos, documentaries, or commercials.
- Interactive production quote funnels: Structured inquiry forms collect project timelines, shooting locations, and gear requirements to generate qualified production leads.
Using a responsive filmmaker portfolio web template guarantees that cinematic wide-aspect-ratio trailers, project case studies, and client testimonial reels render smoothly on desktop monitors and mobile devices.
Crafting Intentional, Cinematic Imagery
Professional videography is the result of deliberate creative choices, not expensive automated gear. By applying the 180-degree shutter rule, locking down manual white balance, shooting in high-dynamic Log profiles, sticking to base ISO, and recording at high bitrates, you transform ordinary sensor footage into professional visual art.
Once you have mastered these production techniques, presenting your video reels with professional polish ensures your work commands premium rates. Leveraging an authoritative video WordPress theme provides the visual performance, clean typography, and fast-loading media tools needed to turn viewers into long-term commercial clients.

SKT Themes helps you build beautiful websites fast. They offer hundreds of easy WordPress themes for shops, businesses, and personal blogs. You do not need any coding skills to use them. Every template is mobile-friendly, secure, and simple to set up for your perfect online presence.










Comments (0)