

How to Put Tissue Paper in a Gift Bag | Ribbon & Blues
Learn how to put tissue paper in a gift bag with easy folding tips, colour ideas and finishing touches for personal presents and corporate gifts.

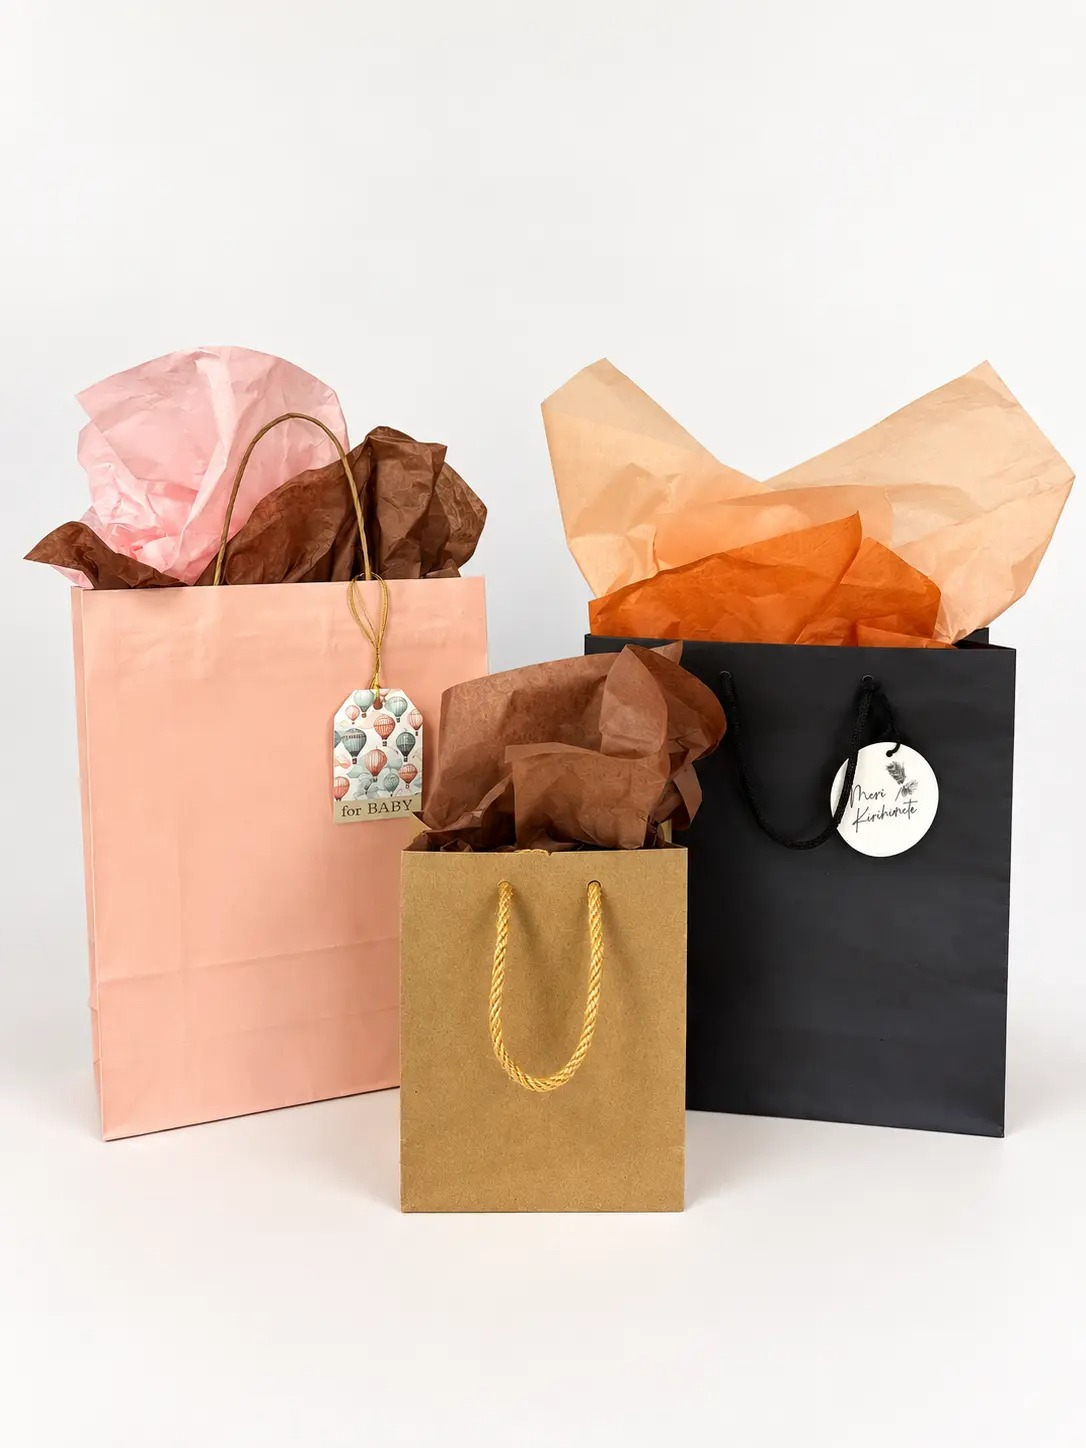
You’ve found the gift, chosen a lovely bag and popped it inside. Yet something still looks a little unfinished. Often, a few sheets of tissue paper are all it takes to pull everything together. They keep the surprise hidden, add colour and give your gift that thoughtful finishing touch.
Whether you’re wrapping a birthday present or preparing gifts for your clients, Ribbon & Blues offers tissue paper, gift bags and finishing touches to suit the occasion. Getting a polished result is easier than you might think, too. A little shaping and careful placement can make a simple bag look beautifully put together.
Start with a bag that comfortably holds your gift, leaving enough room to arrange the tissue around it. For most standard bags, two sheets are a useful starting point. A small bag may only need one, while a larger bag might benefit from a third.
For a soft, full finish, follow these steps:
-
Line the bag. Lay a sheet of tissue across the opening, then gently guide its centre down to the bottom. Let the edges gather naturally along the inside, with the corners extending above the rim.
-
Add your gift. Set it in the centre of the lined bag. If you’re using a small bag, you may already have enough tissue to cover the contents. Simply arrange the edges and check how it looks.
-
Shape the second sheet. For a larger bag, lay another sheet flat and pinch it in the centre. Gather and lightly scrunch the paper around that point, allowing the outer edges to open out.
-
Place it over the gift. Tuck the gathered centre into the space above or beside your present, keeping the loose corners visible at the top.
-
Adjust the edges. Gently separate and fan out the tissue until it looks balanced. Leave the handles clear so the bag is easy to carry.
If the paper keeps sinking into the bag, take it out and give it a little more shape before trying again. Light folds and scrunching help it hold its volume. Adding extra sheets without shaping them can leave the bag looking crowded.
You can also change the mood with colour. Use two matching sheets for a simple, coordinated finish, or choose a contrasting colour for the top layer. Picking out one colour from the bag’s design is an easy way to make the combination feel considered.
For a more structured look, try folding your tissue into a V shape, leaving a pointed edge at the top. Gently lower the centre into the bag, then position your gift inside. Fold a second sheet in the same way and place it behind the first, adjusting the points so both remain visible.
This approach works well when you want a neat presentation with more defined edges. Another option is to wrap the gift itself in tissue and finish it with a bow before placing it in the bag.
When you’re preparing a whole batch of gifts, a little organisation makes the job much easier. Put together one complete bag first so you can check the colours, sheet size and arrangement before committing to the rest.
Then set up your workspace:
-
Stand the bags upright and open them fully.
-
Keep your tissue on a clear, spacious table.
-
Arrange gifts and finishing touches within easy reach.
-
Use the same folding or gathering method throughout the batch.
You won’t usually need to trim the tissue, but test it first if your bags are particularly small. Choosing smaller sheets can save you cutting every piece by hand.
For client and staff gifts, white, kraft and black offer versatile starting points. An accent sheet in your company colour adds a personal touch without overwhelming the presentation.
Printed tissue is another useful shortcut. Use it as the visible top layer and let the pattern provide the decoration. A simple gift sticker can finish the look if you’re short on time for ribbons and tags.
When buying supplies, think about both sheet size and quantity. Ribbon & Blues’ standard tissue sheets measure 76 × 50 cm, with smaller 38 × 50 cm sheets available in recycled white and kraft. Its tissue paper is also acid-free.
Plain tissue comes in flat reams of 480 sheets or smaller folded packs of 24. Printed options come in packs of 20 or 200, while white tissue is also available in a 1,000-sheet pack. Choose a quantity that suits the number of gifts you’re preparing and the sheets you’ll use in each bag.
Already have some tissue at home? Reuse it if it’s clean, untorn and still holds its shape. Smooth it gently and store it flat between occasions. For larger gifting runs, fresh bulk packs may be more practical than sorting through saved sheets.
Even a patterned gift bag benefits from tissue. It covers the contents and adds height and texture above the rim. Before you hand over the finished gift, give the edges one last gentle adjustment. Those few seconds help the presentation feel as thoughtful as the present inside.








Comments (0)