Power Rack Buying Guide: Footprint, Anchoring, and the Floor Beneath It
 alexjoe
A sturdy rack is the backbone of any serious strength setup. It is where you squat, press, and pull safely, often with heavy loads and no spotter nearby. Because it anchors so much of your training, choosing one deserves more thought than simply picking the cheapest option that fits the corner. The rack itself is only part of the decision. Footprint, anchoring, and the surface underneath all shape whether your setup is safe, stable, and built to last for years of hard use.
Measure Footprint and Clearance First
Before comparing models, measure your space in three dimensions. The floor footprint is obvious, but height and depth catch people off guard. A power rack needs enough overhead room for pull-ups and for racking a loaded bar with arms extended, plus clearance for the bar path during pressing. Account for the depth too, since a deeper rack offers more working room inside but eats more floor space. Always leave walking clearance around the unit so you are not squeezing past loaded uprights in the middle of a session.
Anchoring Versus Free-Standing
Racks generally fall into two camps: those bolted to the floor and those heavy enough to stand on their own. Anchoring adds maximum stability and is worth strong consideration for tall units, lighter-gauge models, or anyone moving serious weight. A heavier rack with a wide footprint may stay planted without bolts for moderate training. If you anchor, the surface beneath needs something solid for the bolts to bite into. If you go free-standing, the rack's mass and base width are doing the work, so do not undersize it to save a little money.
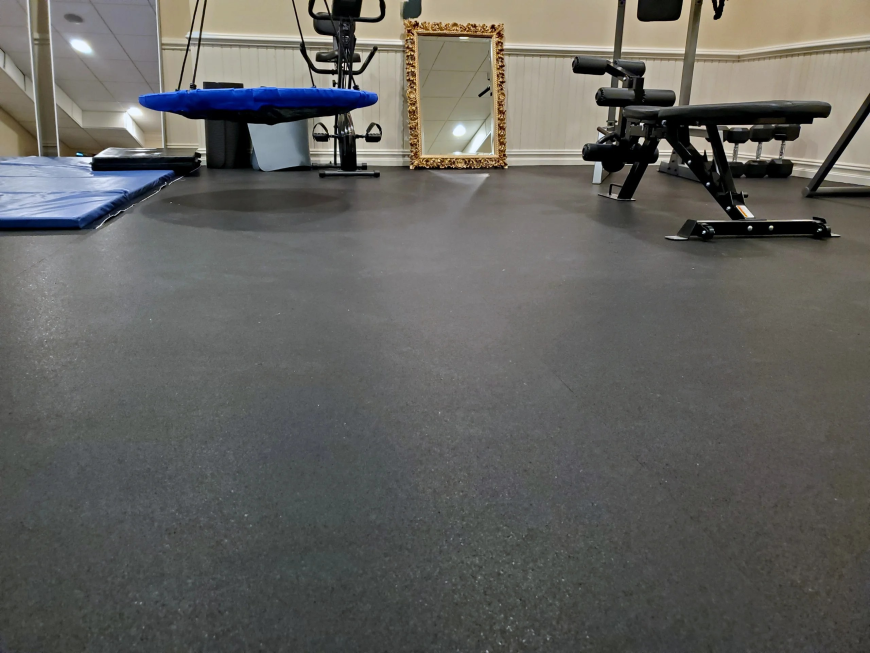
The Floor Beneath the Rack
The surface under your rack protects both the floor and the equipment, and the right gym flooring depends on how you train. Thickness should match the load and the likelihood of dropping weight:
● 1/4 inch: Suitable for machines only, where nothing is dropped.
● 3/8 inch: Handles light drops and general training.
● 1/2 inch: Appropriate for moderate strength training.
● 3/4 inch: Built for heavy barbell work and repeated loading.
For a rack used with a barbell, lean toward the thicker end. Heavy barbell work calls for ¾-inch flooring to absorb impact, protect the subfloor, and give plates a stable surface to land on rep after rep.
A Note on Flooring Material
Not all rubber flooring is the same. Standard recycled rubber is durable and affordable, but it can carry a noticeable odor, especially in a closed or warm room. Poly-encapsulated recycled rubber binds those particles differently and produces far less smell, which is worth the difference for indoor or poorly ventilated spaces. Both wear well underfoot, so the choice often comes down to ventilation and how sensitive you are to odor in the room where you train.
A Power Rack Buying Checklist
Run through these points before you commit:
- Confirm the footprint fits with walking clearance on all sides.
- Verify overhead height for pull-ups and bar racking.
- Check steel gauge, since a heavier gauge means a sturdier rack.
- Note the hole spacing, with tighter spacing near pressing height being useful.
- List the attachments you want and confirm compatibility.
- Decide on anchoring versus free-standing based on weight and design.
- Match your gym flooring thickness to your heaviest training.
Match the Rack to Your Training
A beginner building a modest home setup has different needs than someone chasing heavy lifts. Lighter training pairs comfortably with a mid-weight power rack and ½-inch flooring, while serious barbell work justifies a heavier rack, secure anchoring, and ¾-inch flooring underneath. Buying for how you actually train, rather than for a hypothetical future you may never reach, keeps the decision practical and the cost reasonable. It is always easier to add attachments later than to replace an undersized rack.
Treat It as One Decision
The rack, how it is secured, and what sits beneath it are not three separate purchases. They are one connected decision about safety and longevity. A great rack on thin flooring, or a bolt-down model on a surface that cannot hold anchors, undercuts the whole setup and leaves you with weak links exactly where you need strength. Plan the footprint, the anchoring, and the floor together from the start, and you end up with a station that performs reliably and holds up for years of hard, heavy training.