
How to Plan a Day of Trekking When No Trail Markers Exist
Learn how to safely plan a trekking day without trail markers using navigation tools, natural landmarks, weather checks, timing, and smart route decisions.
 karakoramventure
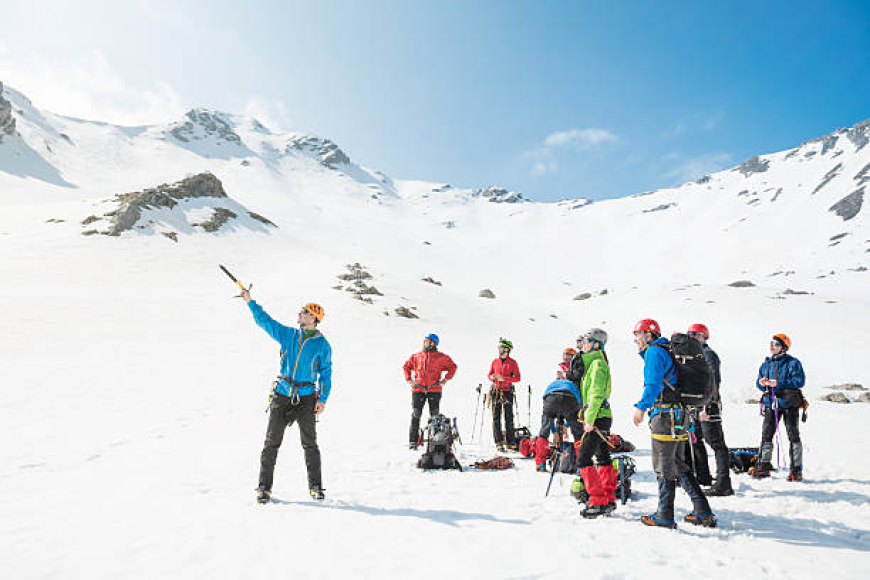
Trekking without trail markers requires more than physical strength. It demands preparation, observation, navigation skills, and disciplined decision-making throughout the day.
Marked paths make route finding easier, but remote mountain routes often lack reliable signs. Snow, rockfall, floods, and glacier movement can erase visible tracks.
On routes such as the Biafo Hispar traverse, trekkers must rely on terrain features and careful navigation. Therefore, each day's plan should account for uncertainty.
Before leaving camp, prepare your Treeking Gear List carefully. Include navigation tools, suitable clothing, emergency equipment, food, water, and reliable communication devices.
Start With Thorough Route Research
A successful day begins before you enter the mountains. Study the planned route and understand its major terrain features.
Use topographic maps, recent route reports, satellite imagery, and reliable guide information. However, avoid treating old tracks as permanent routes.
Mountain environments change constantly. Therefore, previous trekking information should guide your planning rather than control every decision.
Identify Major Landmarks
Choose several landmarks that can confirm your position during the day. Useful examples include peaks, ridges, rivers, passes, and rock formations.
Large landmarks work better than small objects. Snow can cover rocks, while streams can change their courses.
Record these landmarks before leaving camp. Then, compare them with your surroundings as you progress.
Divide the Route Into Sections
Never treat the entire day's journey as one navigation task. Instead, divide it into smaller sections.
Each section should have a clear destination. For example, choose a ridge, stream crossing, glacier junction, or mountain pass.
This approach makes navigation easier. It also helps you identify problems before they become serious.
Set Realistic Daily Objectives
Distance alone does not determine how difficult a trekking day will be. Terrain, elevation, weather, and surface conditions affect your speed.
A short distance over steep scree can require more effort than several kilometers on stable ground.
Therefore, estimate your progress according to terrain difficulty. Also, allow extra time for navigation and unexpected obstacles.
Consider Elevation Gain
Elevation gain can significantly affect trekking speed. Steep climbs require more energy and frequent breaks.
Study contour lines before starting your day. Closely spaced contours indicate steeper terrain.
Avoid creating unrealistic schedules based only on horizontal distance. A slower schedule can provide a safer margin.
Include Buffer Time
Always include additional time in your daily plan. Weather changes and route checks can quickly delay progress.
A good schedule should never depend on perfect conditions. Leave enough daylight for unexpected difficulties.
Build a Reliable Navigation System
Electronic navigation can make remote trekking easier. However, electronic devices should never become your only navigation method.
Carry a physical topographic map and compass. Also, download detailed offline maps before leaving areas with connectivity.
Prepare GPS Waypoints
Create waypoints for camps, important landmarks, water sources, and route junctions. Mark potential emergency locations when appropriate.
Check your location regularly during the trek. Frequent checks help detect small navigation errors early.
However, avoid following a GPS line without checking the terrain. A digital route may not reflect recent environmental changes.
Practice Compass Navigation
Learn basic compass skills before attempting remote routes. Practice taking bearings and identifying directions.
Use the compass alongside your map. This combination provides useful information when landmarks become unclear.
Compass navigation becomes especially valuable during fog or heavy snowfall. Therefore, every trekker should understand basic directional techniques.
Learn to Read the Terrain
When markers disappear, the landscape becomes your navigation system. Learn to recognize how valleys, ridges, slopes, and drainage patterns connect.
Terrain association helps you compare your surroundings with your map. This method remains useful when electronic devices become unreliable.
Follow Natural Features Carefully
Ridges can provide strong directional references. Valleys can also indicate general travel corridors.
However, never follow a natural feature automatically. Check for cliffs, unstable slopes, rivers, and other hazards.
A valley may appear straightforward from a distance. Further inspection could reveal difficult crossings or blocked passages.
Use Contour Lines
Contour lines reveal elevation changes and terrain shape. They can help identify steep slopes and gentler traverses.
Study the map before reaching difficult terrain. This allows you to anticipate obstacles instead of reacting to them.
Plan River and Stream Crossings
Water crossings require careful planning during remote treks. Mountain streams can become stronger throughout the day.
Glacial meltwater may increase during warmer afternoon periods. Therefore, plan major crossings early when conditions may be more manageable.
Inspect Both Sides First
Never cross immediately after reaching a river. Walk along the bank and look for safer alternatives.
Search for wider sections with slower water. Avoid deep channels and unstable banks whenever possible.
Also, consider whether another crossing exists upstream. A longer approach can sometimes provide a much safer crossing.
Know When Not to Cross
High or fast-moving water can present serious risks. Never cross simply because the route requires it.
If conditions appear unsafe, wait or find another route. Your planned schedule should never override basic safety.
Navigate Glacial Terrain Carefully
Glaciers create additional navigation challenges. Their surfaces can contain crevasses, meltwater channels, unstable snow, and loose debris.
Old GPS tracks cannot guarantee current safety. Glacier surfaces can change after snowfall, warming, or movement.
Observe Surface Changes
Watch for cracks, depressions, unusual snow patterns, and exposed ice. These features may indicate potential hazards.
Avoid unfamiliar glacial terrain without appropriate skills. Technical glacier travel may require specialized equipment and experienced guidance.
Maintain Frequent Position Checks
Check your position at important glacier landmarks. Do not wait until the landscape becomes confusing.
Regular checks help maintain awareness. They also make it easier to return to the last confirmed location.
Manage Your Energy Throughout the Day
Navigation becomes harder when fatigue affects concentration. Therefore, energy management should form part of your route plan.
Eat regularly and drink enough water throughout the day. Avoid waiting until exhaustion becomes obvious.
Maintain a Sustainable Pace
Start at a pace you can maintain for several hours. Fast early progress can cause unnecessary fatigue later.
Slow down before steep climbs or complicated navigation sections. Better concentration can prevent mistakes and save time.
Keep group members together whenever terrain becomes difficult. Separation creates additional communication and safety problems.
Establish Navigation Checkpoints
Set specific times or locations for navigation reviews. These checkpoints help you evaluate progress throughout the day.
At each checkpoint, compare your location with your planned route. Then assess weather, daylight, terrain, and group condition.
Monitor Your Schedule
If you reach landmarks later than expected, investigate why. The delay could indicate difficult terrain or navigation problems.
Do not ignore repeated delays. They may show that your original plan requires adjustment.
Set a Turnaround Time
Choose a firm turnaround time before starting. Consider daylight, weather, terrain, and emergency options.
Do not continue simply because the destination appears nearby. Difficult terrain can take longer than expected.
A clear turnaround rule reduces emotional decisions. It also gives your team a defined safety boundary.
Know When to Stop
Stopping can be one of the most important navigation decisions. Continuing while uncertain often increases the risk of becoming lost.
Stop when expected landmarks disappear. Also stop when your GPS position conflicts with visible terrain.
Retrace Only When Safe
Return toward your last confirmed location when necessary. However, avoid retracing through newly discovered hazards.
Compare your map, compass, GPS, and surroundings before moving. If uncertainty remains, consider waiting for better visibility.
Experienced local guides can provide valuable assistance on complex routes. Their knowledge may reveal terrain details that maps cannot capture.
Prepare for Weather Changes
Mountain weather can change rapidly. Clouds, snow, wind, and fog can remove important visual references.
Check reliable weather information before leaving camp. However, continue monitoring conditions throughout the day.
React Early to Deteriorating Weather
Do not wait until visibility disappears completely. Begin reassessing your route when conditions start worsening.
Shorten your planned route if necessary. Reaching camp safely should remain more important than completing every objective.
Keep Detailed Navigation Notes
Record important observations during your trek. Note approximate times, bearings, elevations, crossings, and unusual terrain.
These notes can support return navigation. They can also improve planning for future journeys.
Photos can provide additional visual references. Capture distinctive landmarks from several directions when practical.
Final Thoughts
Planning an unmarked trekking day requires preparation, flexibility, and constant terrain awareness. Maps and technology provide valuable support, but judgment remains essential.
Break each route into manageable sections and establish clear navigation checkpoints. Allow extra time for weather, difficult terrain, and unexpected delays.
Most importantly, recognize uncertainty early. When the route becomes unclear, stopping and reassessing can protect both your team and your journey.