Beginner’s Guide to Convert Image to JAN Embroidery File
Beginner's guide to convert image to JAN embroidery file. Learn software, pro tips, and how to get perfect stitches on your Janome machine.
 digitizingbuddy3
Introduction
You have a picture you want to stitch on your Janome machine. Maybe it's a logo for a small business, a design for a gift, or something you created yourself. You know you need a JAN file, but you're not quite sure what that means or how to get from your image to something your machine can read. Don't worry—everyone starts here. Learning to Convert image to JAN Embroidery File is one of those skills that sounds complicated but becomes second nature once you understand the basics. Let me walk you through everything you need to know as a beginner, without all the technical jargon.
First, What Is a JAN File?
Let's start with the most basic question. A JAN file is the native format for Janome embroidery machines . It's not a picture—it's a detailed set of instructions that tells your machine exactly where to put every stitch, what type of stitch to use, how dense the stitching should be, and when to change colors .
Think of it like a recipe. A picture of a cake doesn't tell you how to bake it. A recipe gives you step-by-step instructions. Your JAN file is the recipe your Janome machine follows to create your design.
When you load a JAN file into your machine, you can see the design on screen, the thread colors, and sometimes even a simulation of how it will stitch. This makes Janome machines particularly user-friendly for beginners.
The Starting Point: Your Image Matters
Before we talk about conversion, let's look at your image. The quality of your final embroidery depends almost entirely on the quality of your starting picture.
Vector files (SVG, AI, EPS, PDF) are the gold standard. They're made of mathematical paths, not pixels, so they scale infinitely without losing sharpness . If you have vector artwork, use it. This is what professionals prefer.
PNG files work well, especially with transparent backgrounds. They have less compression than JPGs and preserve edges better . Aim for at least 300 DPI at your target size.
JPEG/JPG files are the most common but most problematic. Compression creates artifacts that can become part of your stitch file . If all you have is JPG, use the highest resolution possible and increase contrast to sharpen edges.
Before you do anything else, look critically at your image. Are the edges clean? Is the text readable at the size you need? Are there gradients or fine details that might not translate? Being honest now saves frustration later.
Your Options for Getting a JAN File
You've got several paths to turn your image into a JAN file. Let me explain each one honestly.
Option 1: Janome's Own Software (The Official Path)
Janome offers Digitizer MBX software designed specifically for their machines . It's the most direct way to create JAN files, with tools optimized for Janome's format.
The software includes both manual digitizing tools and auto-digitizing features. The auto-digitizing can work for simple designs, but like all auto-digitizing, it has limits. For complex work, you'll need to learn manual techniques.
Digitizer MBX is a significant investment (several hundred dollars) but gives you complete control and native compatibility.
Option 2: Third-Party Digitizing Software
Several programs can convert images to JAN format:
-
Wilcom Embroidery Studio – Professional-grade, handles JAN export
-
Hatch Embroidery – Popular with Janome users, includes JEF and JAN support
-
Embrilliance – User-friendly, supports multiple formats
-
Ink/Stitch – Free, open-source, works with JEF (which Janome reads)
These range from free to thousands of dollars, with capabilities to match the price. For beginners, Embrilliance or Hatch offer good balance of usability and features.
Option 3: Online Converters (Use with Extreme Caution)
You'll find websites claiming to convert images to JAN for free. I have to be honest with you: these are risky .
They use auto-digitizing, which handles simple shapes okay but fails on details, small text, and complex designs . They also raise privacy concerns—you're uploading your designs to unknown servers. And when the file is wrong, you have no recourse.
For very simple personal projects, they might work. For anything important, avoid them.
Option 4: Professional Digitizing Services (The Beginner-Friendly Choice)
This is what I'd recommend for anyone just starting out who wants guaranteed results without the learning curve.
Companies like Absolute Digitizing, Digitizing Buddy, Cool Embroidery Design, and Absolute Digitizer specialize in creating JAN files for Janome machines . Their experienced digitizers do the work manually, ensuring every detail translates properly.
Here's how it works:
-
You upload your image
-
You tell them the size, fabric, and any special requirements
-
Their digitizers create a manual JAN file
-
They deliver it ready for your machine
-
You test, they revise if needed (free revisions included)
Prices start around $10-25 for simple designs . For the cost of a single ruined garment, you get perfect files every time.
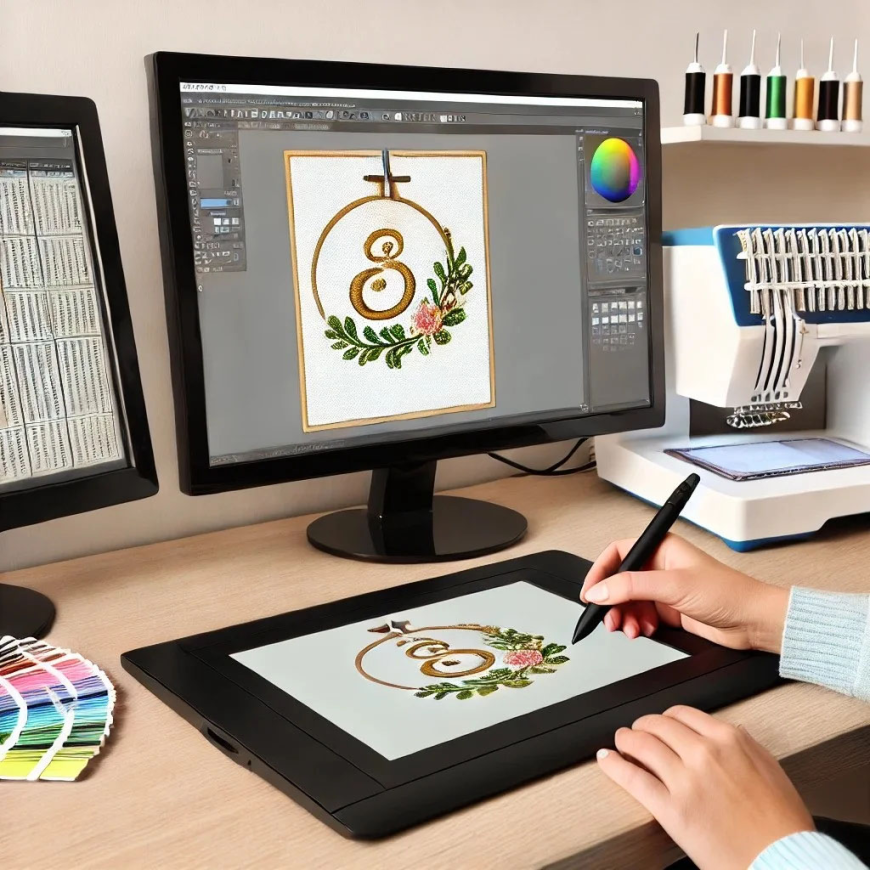
What Happens When a Pro Digitizes Your Image
When you send your image to a professional service, here's what happens behind the scenes :
Step 1: Artwork analysis. They examine your image for potential issues—tiny text, fine lines, complex gradients. They flag problems and plan solutions.
Step 2: Manual tracing. Every element is traced by hand using professional software. This isn't auto-digitizing—it's intentional, experienced work.
Step 3: Stitch type assignment. Different elements get different stitch treatments. Borders get satin stitches for smooth edges. Large areas get fill stitches at appropriate densities. Small text gets special handling.
Step 4: Technical engineering. Underlay is added for stability. Pull compensation is applied so shapes stay true. Density is calibrated for your specific fabric.
Step 5: Color matching. Thread colors are matched to your design as closely as possible.
Step 6: Export as JAN. The finished file is saved in JAN format, ready for your Janome.
What Information Your Digitizer Needs
To get the best results, provide:
The artwork itself. High-resolution images or vector files work best.
Exact finished size in inches. Left chest logos are typically 3-4 inches wide. Be precise.
Fabric type and garment style. This drives underlay, density, and compensation choices. A file for a cotton t-shirt needs different settings than one for a performance polo.
Thread color requirements. If you have specific colors, include them. If not, the digitizer will match as closely as possible.
Your Janome machine model. Different models have slightly different capabilities. Knowing exactly what you use helps.
Testing: The Step Nobody Should Skip
This is where beginners make their biggest mistake. You get your JAN file, you're excited, and you want to stitch that final project right now.
Stop. Test first .
Load the file on scrap fabric that matches your final material. Same stabilizer. Same settings. Run it at your normal speed .
Check for:
-
Puckering or distortion
-
Thread breaks during the run
-
Registration between colors
-
Clarity of small text and details
If anything's off, send photos to your digitizer. Good services include free revisions . One test stitch costs pennies. A batch of ruined garments costs real money.
Common Problems and Solutions
Small text is blurry. Text under 0.25 inches needs special handling. Your digitizer may need to adjust techniques or recommend enlarging the design.
Design puckers. Usually means underlay issues or density too high for your fabric. Adjustments can fix it.
Colors don't match. Different thread brands show colors differently. Provide specific color codes if accuracy matters.
Machine won't read the file. Check that the file name uses only letters, numbers, dashes, and underscores. Special characters can cause issues.
Janome-Specific Advantages
Janome machines are known for their smooth operation and excellent stitch quality. When you feed them well-digitized JAN files, they really shine.
The JAN format preserves all the information your Janome needs to produce clean, consistent embroidery. Color information displays on screen. Stitch data transfers accurately. Machine features work as intended.
This is why investing in quality digitizing pays off—your machine can do what it was built to do.
Building Your Skills Over Time
If you eventually want to learn digitizing yourself, start simple. Use professional services for client work while you practice on personal projects. Watch tutorials. Join embroidery forums. Learn from your mistakes.
The journey from beginner to confident digitizer takes time, but every step teaches you something valuable about how thread and fabric work together.
Conclusion
When you Convert image to JAN Embroidery File the right way, your Janome machine produces embroidery that looks as good as your original vision. Clean edges. Smooth fills. Readable text. Consistent colors.
For beginners, the smartest path is partnering with professional digitizing services. Companies like Absolute Digitizing, Digitizing Buddy, Cool Embroidery Design, and Absolute Digitizer have the experience and expertise to turn your images into flawless JAN files. They ask the right questions, deliver on time, and fix problems without fuss.
As you gain experience, you can explore learning digitizing yourself. But there's no shame in letting experts handle the technical work while you focus on stitching and growing your business.
Your Janome machine is capable of beautiful work. Give it beautiful files, and it will reward you with embroidery you're proud to share.