What Happens During Each Stage of a Professional Roofing Service
Every roofing project follows a sequence that helps protect the home, maintain safety, and deliver lasting performance.
 williamthomes5566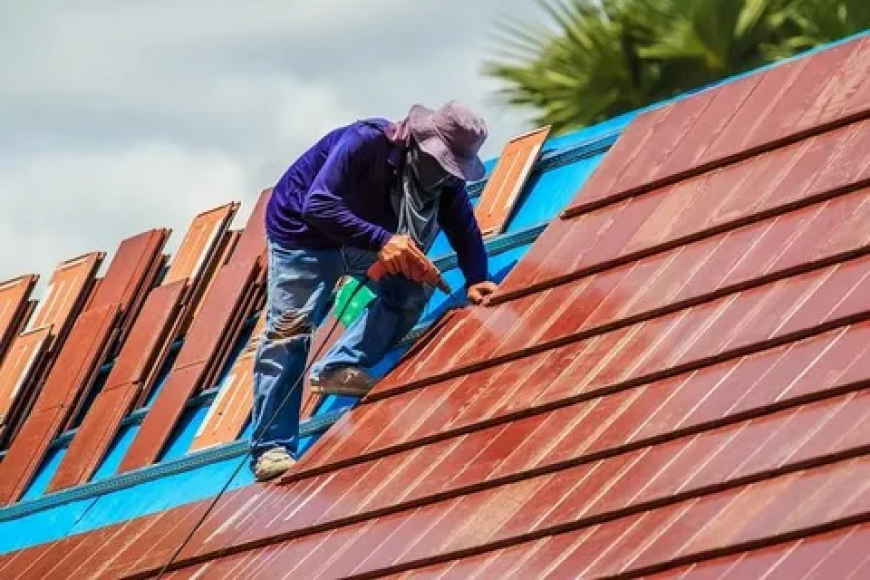
Homeowners searching for Roofing Services Philadelphia, PA often want to know exactly what happens after signing a contract. A structured approach reduces delays, helps prevent unexpected costs, and gives property owners realistic expectations about timelines, materials, and site activity.
Stage 1: The Initial Roof Inspection and Project Assessment
Every professional roofing service begins with a detailed inspection. Contractors examine the roof covering, flashing, gutters, ventilation, decking, and visible structural components. The purpose is to determine whether repairs are sufficient or if replacement provides a better long-term solution. When damage affects large sections of the structure, roof replacement in Philadelphia, PA may provide a more reliable option than repeated repairs.
During this visit, measurements are collected to calculate material quantities. Roof slope, valleys, chimneys, skylights, and other features are documented because each affects labor requirements and installation methods.
Photos often become part of the inspection report. These images help explain damaged shingles, deteriorated flashing, moisture intrusion, or storm-related issues that may not be visible from the ground.
Stage 2: Planning Materials and Scheduling the Work
Once the inspection is complete, project planning begins. Material selections depend on the home's architecture, local weather conditions, budget, and expected service life.
Common roofing materials include:
-
Asphalt shingles
-
Architectural shingles
-
Metal roofing panels
-
Synthetic roofing products
Permits may be required depending on local regulations. Material delivery is coordinated so supplies arrive shortly before installation begins, reducing unnecessary exposure to weather.
Around this point in the process, Right Direction Contracting, LLC reviews the project scope, confirms material availability, and establishes an installation schedule that accounts for weather forecasts and site conditions.
Stage 3: Preparing the Property Before Installation
Preparation protects the property before roofing crews begin removing existing materials.
Vehicles are usually moved away from the work area to provide room for material delivery and debris removal. Landscaping near the home may receive protective coverings, while tarps help catch discarded roofing materials.
Inside the home, homeowners sometimes notice vibrations while old roofing materials are removed. Loose items hanging on walls or resting on shelves are commonly secured beforehand to prevent accidental damage.
Safety equipment also becomes part of the setup. Depending on roof height and design, contractors may install fall protection systems, roof anchors, or scaffolding that complies with safety standards.
Stage 4: Removing the Existing Roof
The tear-off stage exposes the roof structure for close inspection.
Old shingles, underlayment, flashing, and roofing nails are removed. This step reveals hidden damage that cannot be detected while existing materials remain in place. Minor issues discovered during this process may require roof repair services in Philadelphia, PA to restore damaged areas before new roofing materials are installed.
Roof decking receives careful attention. Water infiltration may have caused wood rot, mold growth, or weakened sections that require replacement before new materials are installed.
A complete tear-off produces a clean foundation for the new roofing system. Skipping damaged materials can shorten the lifespan of an otherwise high-quality installation.
Stage 5: Repairing the Roof Structure and Installing Protective Layers
With the roof deck exposed, repairs move forward before any finished roofing materials are installed.
Damaged plywood or oriented strand board is replaced where necessary. Contractors also inspect ventilation openings to confirm proper airflow through the attic. Poor ventilation may contribute to moisture buildup, premature shingle aging, and excessive heat accumulation during summer months.
Protective components are then installed in sequence.
Ice and water barriers provide extra protection in vulnerable areas such as valleys and roof edges. Synthetic underlayment creates another moisture-resistant layer beneath the finished roofing material. Flashing around chimneys, roof penetrations, and wall intersections receives careful installation because these locations commonly experience leaks when improperly sealed.
Stage 6: Installing the New Roofing System
Once the roof structure has been prepared, visible roofing materials are installed according to manufacturer specifications. Professional residential roofing installation services focus on correct fastening, material placement, and proper sealing to support long-term roof performance.
Shingles are placed using designated fastening patterns that resist wind uplift. Metal roofing panels require precise alignment to maintain weather resistance while allowing for thermal expansion. Ridge caps complete the roof peak and help protect exposed seams.
Attention to spacing and fastening matters throughout installation. Improper nail placement or uneven alignment may reduce product performance and manufacturer warranty coverage.
Weather conditions also influence daily progress. Rain, high winds, or extreme temperatures sometimes require temporary work stoppages to protect both workers and roofing materials.
Stage 7: Final Inspection, Cleanup, and Project Review
The last stage extends beyond installing shingles.
Contractors inspect completed work to verify flashing alignment, ventilation components, ridge caps, and exposed fasteners. Gutters are checked for roofing debris that could interfere with drainage.
Cleanup includes removing discarded materials, collecting stray nails with magnetic equipment, and clearing protective coverings placed around the property. These final steps help restore the home's exterior to its original condition.
Roofing Decisions Built Around Long-Term Performance
Selecting a roofing contractor involves more than comparing estimates. A clearly defined installation process helps homeowners evaluate how work will be completed before materials ever reach the property.
Every Stage Supports the Finished Roof
Each stage of a professional roofing service contributes to the durability of the completed system. Inspection identifies existing problems. Preparation protects the property. Structural repairs strengthen the roof before new materials are installed. Careful installation and final verification help ensure the finished roof performs as intended through changing weather conditions and years of daily exposure.
Common Roofing Service Questions
How long does a professional roofing project usually take?
Many residential roof replacements are completed within one to three days, although larger homes, weather delays, and complex roof designs may extend the schedule.
Can damaged roof decking always be identified before installation begins?
No. Many structural problems remain hidden beneath shingles and underlayment until the existing roof has been removed.
Why is underlayment installed beneath roofing materials?
Underlayment provides an additional moisture barrier that helps protect the roof deck if wind-driven rain or damaged shingles allow water beneath the finished roof surface.
Does every roofing project require new flashing?
Existing flashing is inspected during roof replacement. Damaged, corroded, or improperly installed flashing is commonly replaced to reduce future leak risks.
What happens if bad weather interrupts installation?
Professional contractors secure exposed areas with temporary weather protection until safe conditions allow work to continue.
How often should a roof be professionally inspected?
Many roofing professionals recommend an inspection every one to two years and after severe storms to identify damage before it develops into larger repair issues.