How to Line Cake Pans with Parchment Paper
Learn how to line cake pans with parchment paper the right way. Follow this easy step-by-step guide to prevent sticking and get perfect cake.
 daniey
When it comes to baking perfect cakes, lining your cake pans with parchment paper is one of the simplest yet most effective techniques. It not only ensures an easy release but also helps in achieving smooth, professional edges and prevents sticking disasters. If you've ever had a cake break apart during removal, parchment paper is your new best friend. Here's a step-by-step guide to help you master the technique like a pro.
Why Line Cake Pans with Parchment Paper?
Lining a cake pan isn't just about preventing sticking—it also helps distribute heat evenly and allows the cake to bake more consistently. Parchment paper adds an extra layer of nonstick security that works even better than greasing alone. It also makes cleanup faster and more efficient, especially when dealing with sugary batters or sticky glazes.
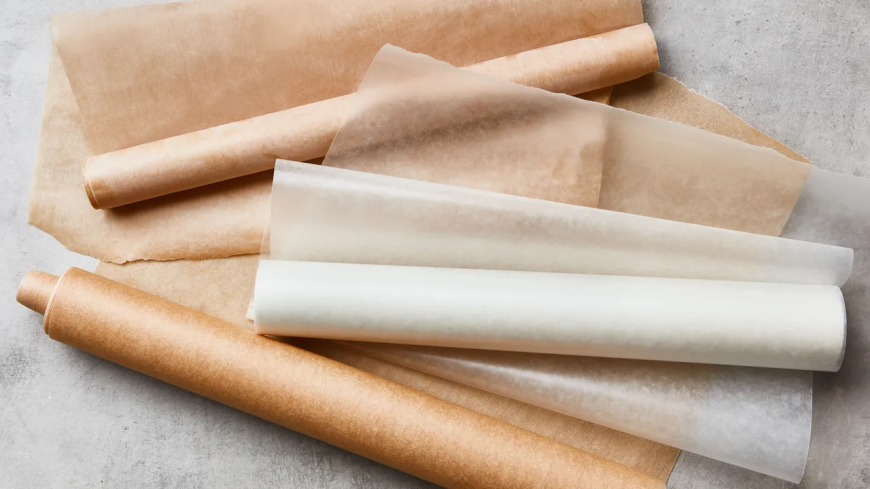
What You Need
Before you begin, gather these simple items:
-
Cake pan (round, square, or rectangular)
-
Roll or pre-cut sheets of parchment paper
-
Pencil or pen
-
Scissors
-
Baking spray or butter (optional)
Step-by-Step: Lining a Round Cake Pan
1. Trace the Pan
Place your cake pan upside down on a sheet of parchment paper. Use a pencil or pen to trace the outer edge of the pan onto the parchment.
2. Cut the Circle
Cut out the circle you traced using kitchen scissors. Try to follow the line as closely as possible for a snug fit.
3. Prepare the Sides (Optional)
If you want to line the sides of your pan as well, measure the height and circumference. Cut a long strip of parchment slightly taller than the pan. You can lightly grease the sides of the pan to help the strip stick and stay upright.
4. Light Greasing (Optional but Helpful)
Lightly spray or grease the bottom and sides of the pan. This helps the parchment stick in place and prevents wrinkling during baking.
5. Insert the Parchment
Place your parchment circle on the bottom of the pan. Press it down flat and ensure there are no bubbles or folds.
Step-by-Step: Lining a Square or Rectangular Cake Pan
1. Cut a Sheet to Fit
Cut a piece of parchment paper large enough to cover the bottom and extend up two opposite sides of the pan. This creates a sling, allowing you to lift the cake out once baked.
2. Crease the Edges
Press the parchment paper into the corners and edges of the pan, creasing it where necessary. You want it to hug the pan snugly.
3. Add a Second Sheet (Optional)
If you want full coverage, lay another piece of parchment across the first, covering the remaining two sides.
Pro Tips for Best Results
-
Use pre-cut parchment circles to save time, especially if you bake often.
-
Always double-check that your parchment fits the pan well—gaps or folds can cause uneven baking.
-
For sticky batters like caramel or fudge-based cakes, use both parchment and a light coat of grease.
After Baking: Easy Removal
Once your cake is baked and cooled for 10–15 minutes, run a knife around the edges if they’re not lined. Then simply lift it out by the parchment sling or invert the pan and peel off the parchment from the bottom. Clean edges and no sticking—just the way every baker likes it.
Sustainable Parchment Alternatives
While parchment paper is generally safe and effective, consider eco-friendly options if you're baking frequently. Silicone baking mats, reusable parchment alternatives, and compostable parchment papers are now available and offer sustainability without sacrificing performance.
Conclusion
Lining a cake pan with parchment paper is a small step that can have a big impact on your baking success. Whether you're a beginner or an experienced home baker, this technique ensures your cakes come out clean, even, and intact every time. Add it to your prep routine and enjoy stress-free cake releases from now on.