PXF File Converter: The Ultimate Tool for Brother Embroidery Machines
Discover how a PXF file converter unlocks your Brother embroidery machine's full potential. Learn the best conversion methods, software options, and pro tips for flawless results
 absolutedigitizing1
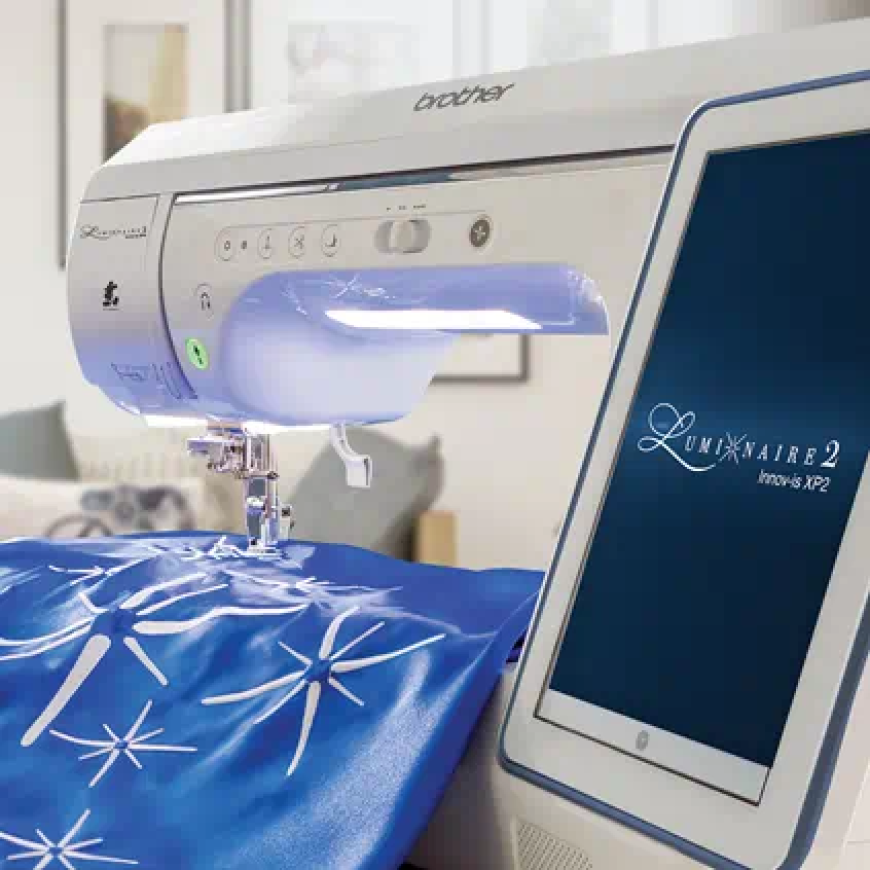
Introduction
Picture this: You've found the perfect embroidery design online, but it's in PES format while your Brother machine prefers PXF. This common frustration stops many embroiderers from accessing thousands of beautiful designs. But here's the good news - with the right PXF file converter, you can transform any design into Brother-ready PXF format in minutes. Whether you need a simple PXF file converter for occasional use or a professional-grade solution, the options available today make conversion easier than ever before.
This comprehensive guide will show you:
-
Why PXF files work better with Brother machines
-
3 reliable conversion methods (including a free option)
-
How to troubleshoot common conversion issues
-
Professional tricks to maintain stitch quality
-
The best software choices for different budgets
Whether you're personalizing gifts or running a small embroidery business, mastering PXF conversion will give you access to more designs than ever before.
Why PXF Files Matter for Brother Machines
Before we dive into conversion, let's understand what makes PXF special:
-
Enhanced Precision: Contains more detailed stitch information than PES
-
Color Control: Better management of thread changes
-
Design Elements: Supports built-in Brother fonts and decorative stitches
-
Machine Optimization: Specifically tailored for Brother's stitching algorithms
Top 3 PXF Conversion Methods
1. Brother PE-Design Software (Official Solution)
Best for: Users who convert files regularly
Conversion Process:
-
Open your design in PE-Design
-
Select "Save As" and choose PXF format
-
Adjust any Brother-specific settings
-
Export and transfer to your machine
Pros:
✅ Guaranteed compatibility
✅ Full feature preservation
✅ Advanced editing capabilities
Cons:
❌ Expensive investment
❌ Only works with Brother software
2. Online Conversion Services
Best for: Occasional conversions
Recommended Service:
MyPhotoStitch.com
How It Works:
-
Upload your design file
-
Select PXF as output format
-
Download converted file
Pros:
✅ No software to install
✅ Fast results
✅ Free options available
Cons:
❌ Limited control over settings
❌ File size restrictions
3. Third-Party Software
Best for: Those needing to convert multiple formats
Best Option:
Embrilliance Essentials
Conversion Steps:
-
Import your design
-
Use "Save As" function
-
Select PXF format
-
Adjust Brother-specific settings
Pros:
✅ Works with multiple machine brands
✅ More affordable than PE-Design
✅ Good basic features
Cons:
❌ Some Brother features may not transfer
❌ Requires software purchase
Step-by-Step Conversion Guide
Follow this foolproof process for best results:
1. Prepare Your Design File
-
Check stitch density (ideal: 0.35-0.45mm)
-
Simplify complex areas if needed
-
Note any special stitches or effects
2. Choose Your Conversion Method
-
For one-time conversions: Use online service
-
For frequent use: Invest in software
3. Adjust Key Settings
-
Thread color sequence
-
Stitch direction
-
Underlay type
4. Test Before Final Use
-
Stitch on scrap fabric
-
Check for thread breaks or puckering
-
Make adjustments as needed
Pro Tips for Perfect Conversions
-
Start with High-Quality Files
-
Vector formats convert best
-
Minimum 300dpi for raster images
-
-
Mind the Details
-
Small text under 1/4" rarely stitches well
-
Avoid gradients - use solid color areas
-
-
Stitch Direction Matters
-
Change angles for different fabric types
-
Use 45° angles for stretchy materials
-
-
Test and Refine
-
Keep notes on what settings work
-
Save multiple versions of complex designs
-
Troubleshooting Common Problems
Problem: Design won't open
Solution:
-
Verify correct PXF version
-
Try reconverting with different software
-
Check USB drive format
Problem: Poor stitch quality
Solution:
-
Adjust density settings
-
Add proper underlay
-
Check machine tension
Problem: Missing details
Solution:
-
Increase design resolution
-
Manually add critical elements
Free Resources to Improve
-
Brother's Official Tutorials
-
PE-Design software guides
-
-
YouTube Channels
-
Brother Embroidery Official
-
The Embroidery Coach
-
-
Online Communities
-
Brother Embroidery Users Facebook group
-
Reddit r/MachineEmbroidery
-
Conclusion
A reliable PXF file converter opens up new creative possibilities for your Brother embroidery machine. While Brother's official software offers the most seamless conversion, there are quality alternatives for every budget and skill level.
Remember:
-
Start with simple designs as you learn
-
Always test before your final project
-
Your skills will improve with each conversion
What design will you convert first? Share your PXF creations and questions below!